Scheduled Searches for Webhook Connections
Scheduled searches are saved searches that run automatically at specified intervals. When a scheduled search is configured to send an alert, it can be sent to another tool using a Webhook Connection.
You can create a brand new search, or you can base a search on an existing saved or scheduled search. If you'd like to use an existing search, you'll need to save the query as a new search to not override the search's current schedule.
Before setting up a scheduled search for Webhooks, configure a Webhook Connection. For more information, see Set Up Webhook Connections.
The payload for each scheduled search can be customized (depending on the tool you're connecting to). Customizing payload does not affect the payload you defined in the Connection—it's at the search level.
To set up a scheduled search for a Webhook Connection:
- Save a search.
- On the Save Item page, click Schedule this search.
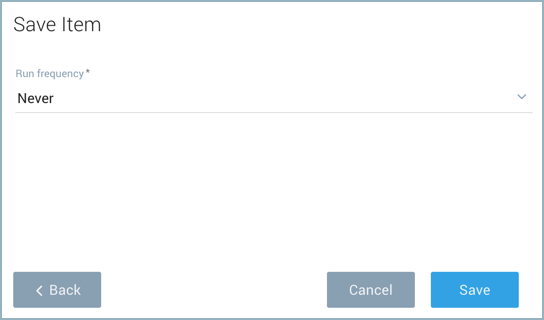
- Change Run Frequency from "Never" to the desired frequency.
- For all configuration options, see Schedule a Search.
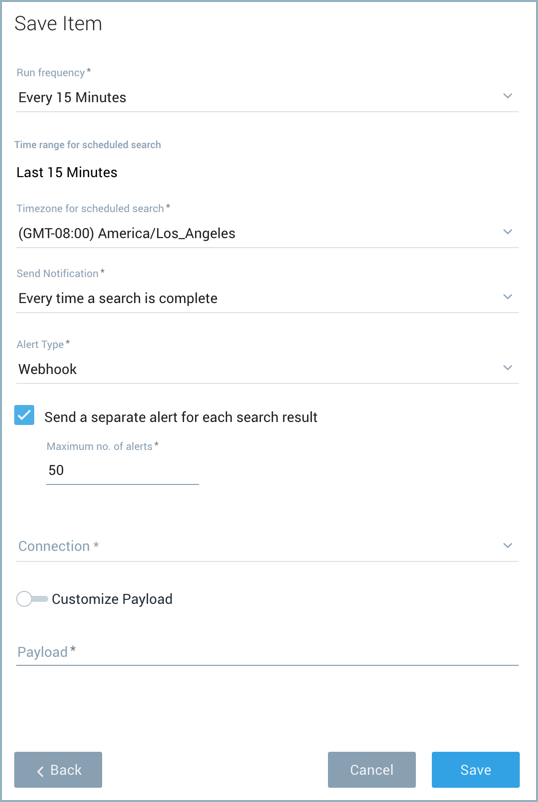
- Alert Type. Select Webhook.
- Select a Webhook from the Connection list.
- (Optional) Select the checkbox if you want a separate alert sent for each search result. You can set up to a maximum of 100 alerts. Any results that exceed the configured maximum do not generate an alert. For example, if your scheduled search is configured to send a maximum of 50 alerts and generates 60 results only the first 50 results will generate an alert, all subsequent results will not generate an alert.note
This may generate duplicate alerts for non-real-time schedules. If your search time range is longer than the search frequency (like a window of 60 minutes, but the frequency of 15 minutes) duplicate alerts are sent since there is an overlap of 45 minutes between each search and all results are sent, not just the difference.
- Webhook payload variables will have values generated for each result. For example, a payload defined as:would have a payload from three alerts as:
{{Results.client_ip}} had {{Results.errors}} errors70.69.152.165 had 391 errors17.233.159.60 had 381 errors169.107.162.237 had 319 ``errors
- If you have selected this checkbox and are scheduling this search to send results to a ServiceNow security or ITSM incident, you will need to set a field called
correlation_idto be unique across each search result. For example, if you wanted to create a separate alert for each IP address in your search results, you would create the field as follows:and then add the following line in the JSON payload below:| now() as timestamp | base64Encode(source_ip) as random | concat(timestamp, random) as correlation_id"correlation_id": "{{Results.correlation_id}}",
- (Optional) Select the checkbox if you want a separate alert sent for each search result. You can set up to a maximum of 100 alerts. Any results that exceed the configured maximum do not generate an alert. For example, if your scheduled search is configured to send a maximum of 50 alerts and generates 60 results only the first 50 results will generate an alert, all subsequent results will not generate an alert.
- (Optional) Toggle the Customize Payload switch if you want to customize the JSON payload. If you’d like to use the default payload, leave this as-is. See Webhook payload variables for details on variables you can use as parameters in the JSON payload.
- Click Save.